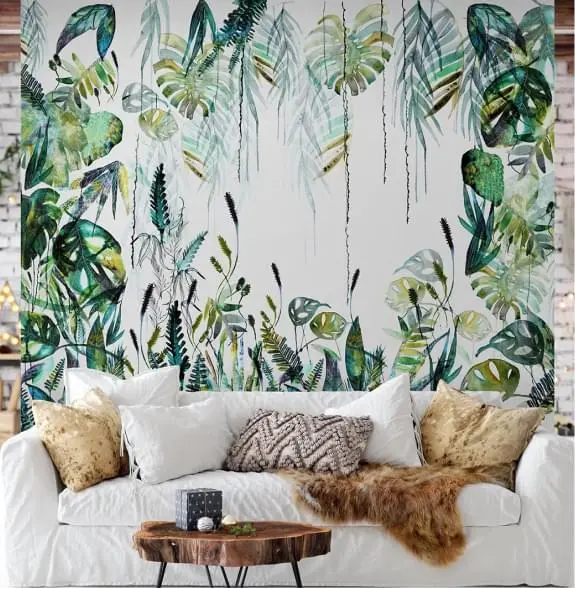
1. Make sure the received wallpapers fully match your order. Lay out the panels on the floor and align them using the numbers on the back of each panel.
2. Prepare the necessary tools. You will need:
- a roller for applying adhesive
- a bucket for the adhesive
- a seam roller
- a brush for applying adhesive
- a tape measure
- a utility knife
- a dry cloth
- a level
- a pencil
- adhesive for non-woven wallpapers
3. Using a tape measure, measure the width of the strip and carefully, using a builder’s level and a pencil, mark vertical marks on the wall under each strip.
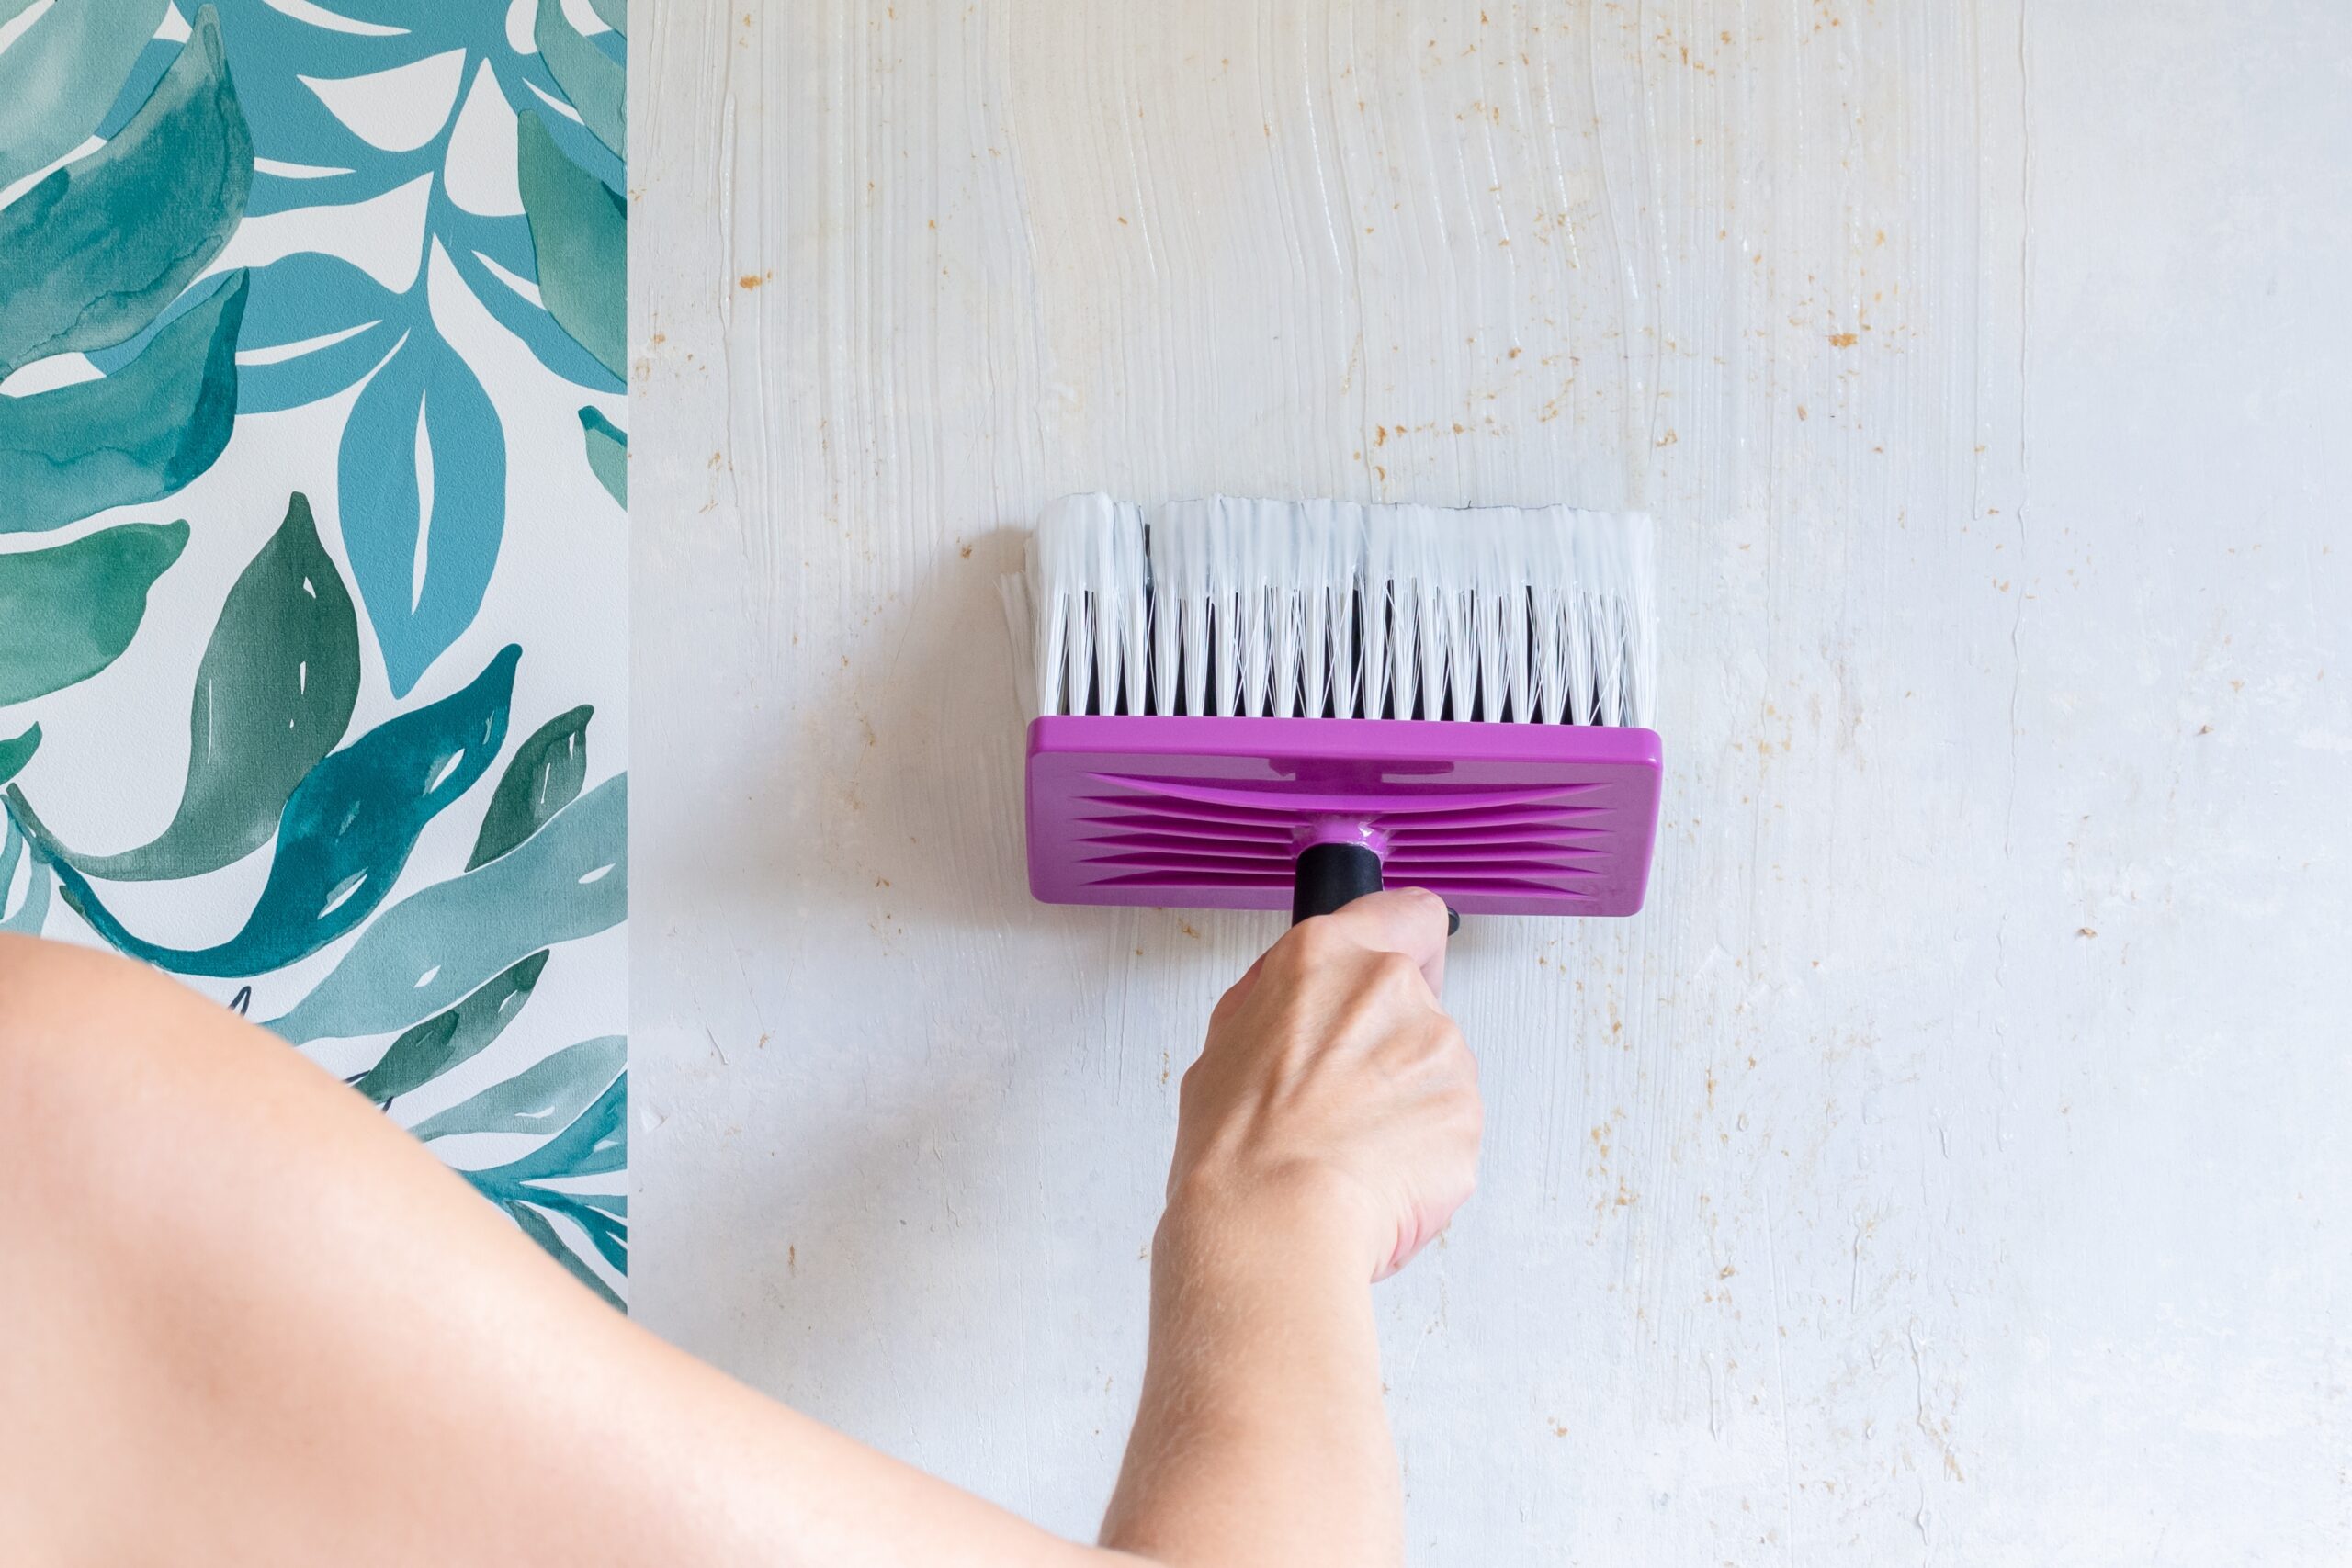
4. Apply an even layer of adhesive to the wall using a roller.
5. Wallpapers are mounted sequentially, starting with the first strip and then in ascending order of the numbers marked on the back of the wallpapers. Carefully apply the first strip to the wall according to the pencil marks where the adhesive was applied. When the strip lies precisely along the marked lines, smooth the wallpaper with a rubber roller.
6. To apply the second strip, apply adhesive to the wall surface again and carefully apply the second strip, aligning the pattern. Do not rush to press the canvas with a roller. Attach to the wall with light movements, and only then go over the wallpapers with a rubber roller.
7. There is no need to fill the joints; they should be smoothed out with a roller. If the adhesive gets on the front side, carefully remove it with a clean cloth.
8. Excess wallpaper on the edges can be trimmed with a utility knife.


